Those of you that have followed me for awhile know that I very seldom post drawing progress photos. I'm not really sure why. Part of it might be the fear that this will be the drawing that won't turn out well. Or maybe I just don't think about documenting the progress of a single drawing all that often. Whatever the case, here's the rare occasion where I not only documented the progress and I am now posting the pictures for your perusal.
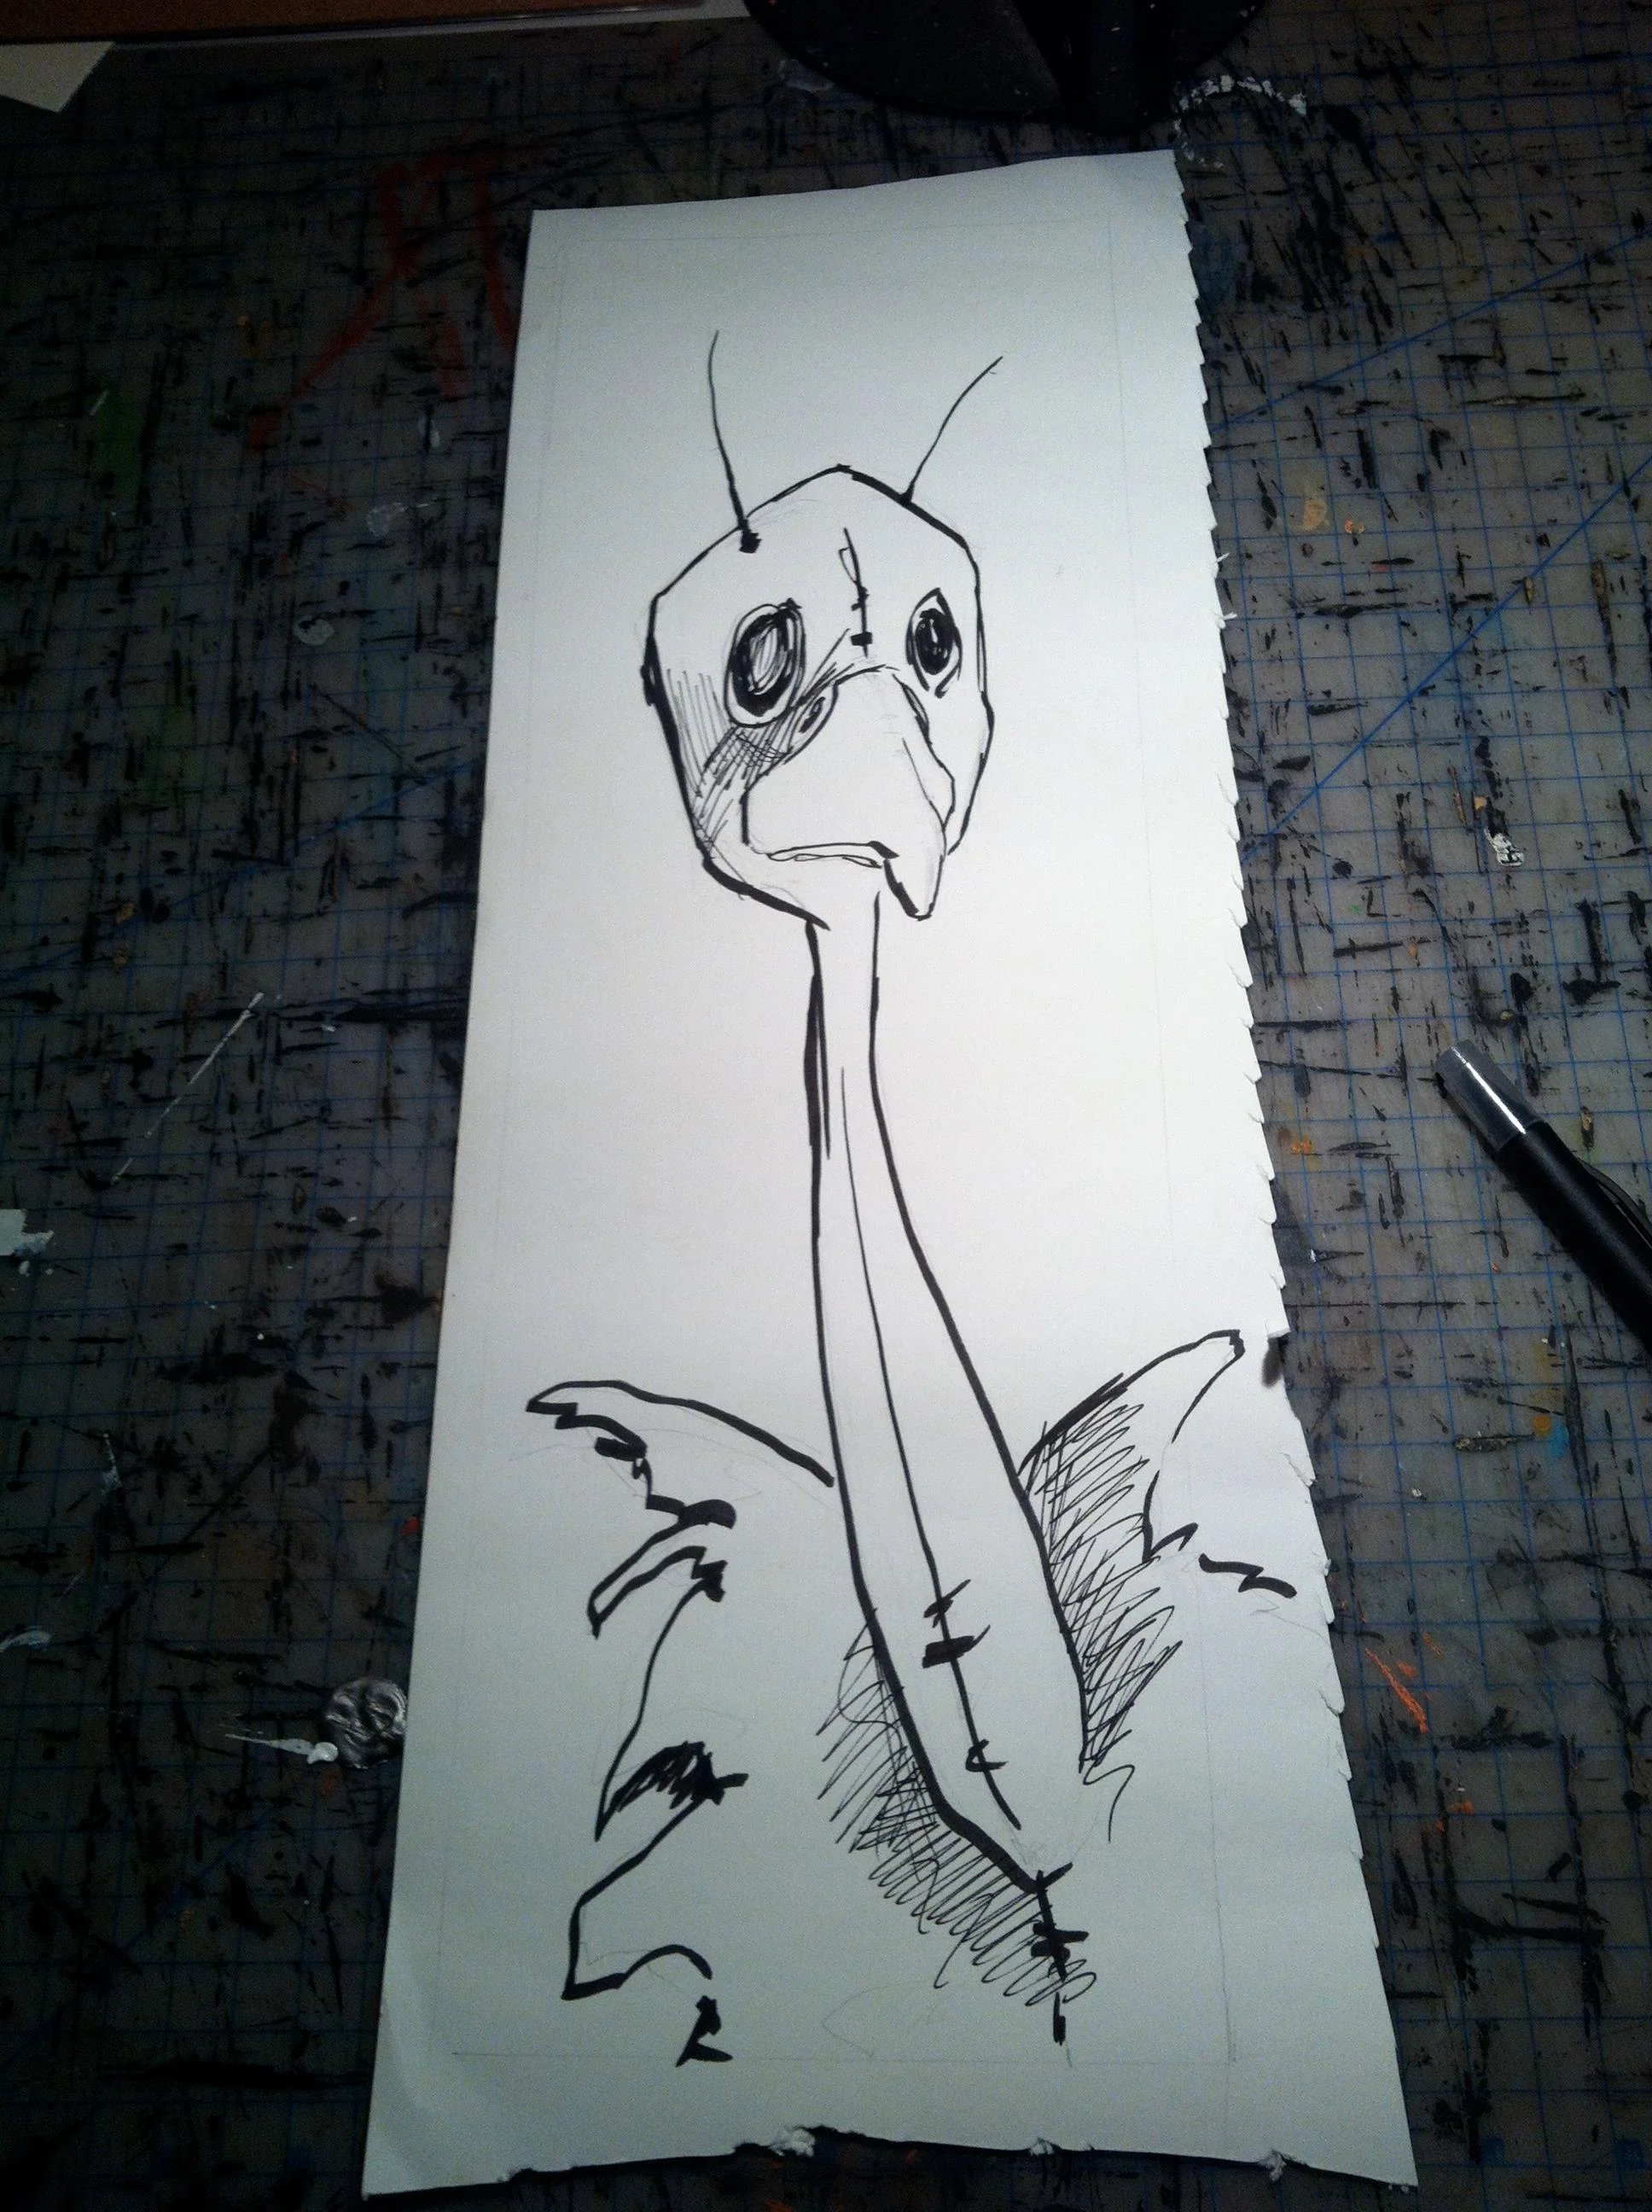
So here's how the drawing starts. It is on Rising Stonehenge paper milled before Rising was purchased by Legion Paper. The texture is very different from the current Stonehenge milled by Legion and I'm running out of the old kind. I'm not quite sure what I'll do then. But for now......
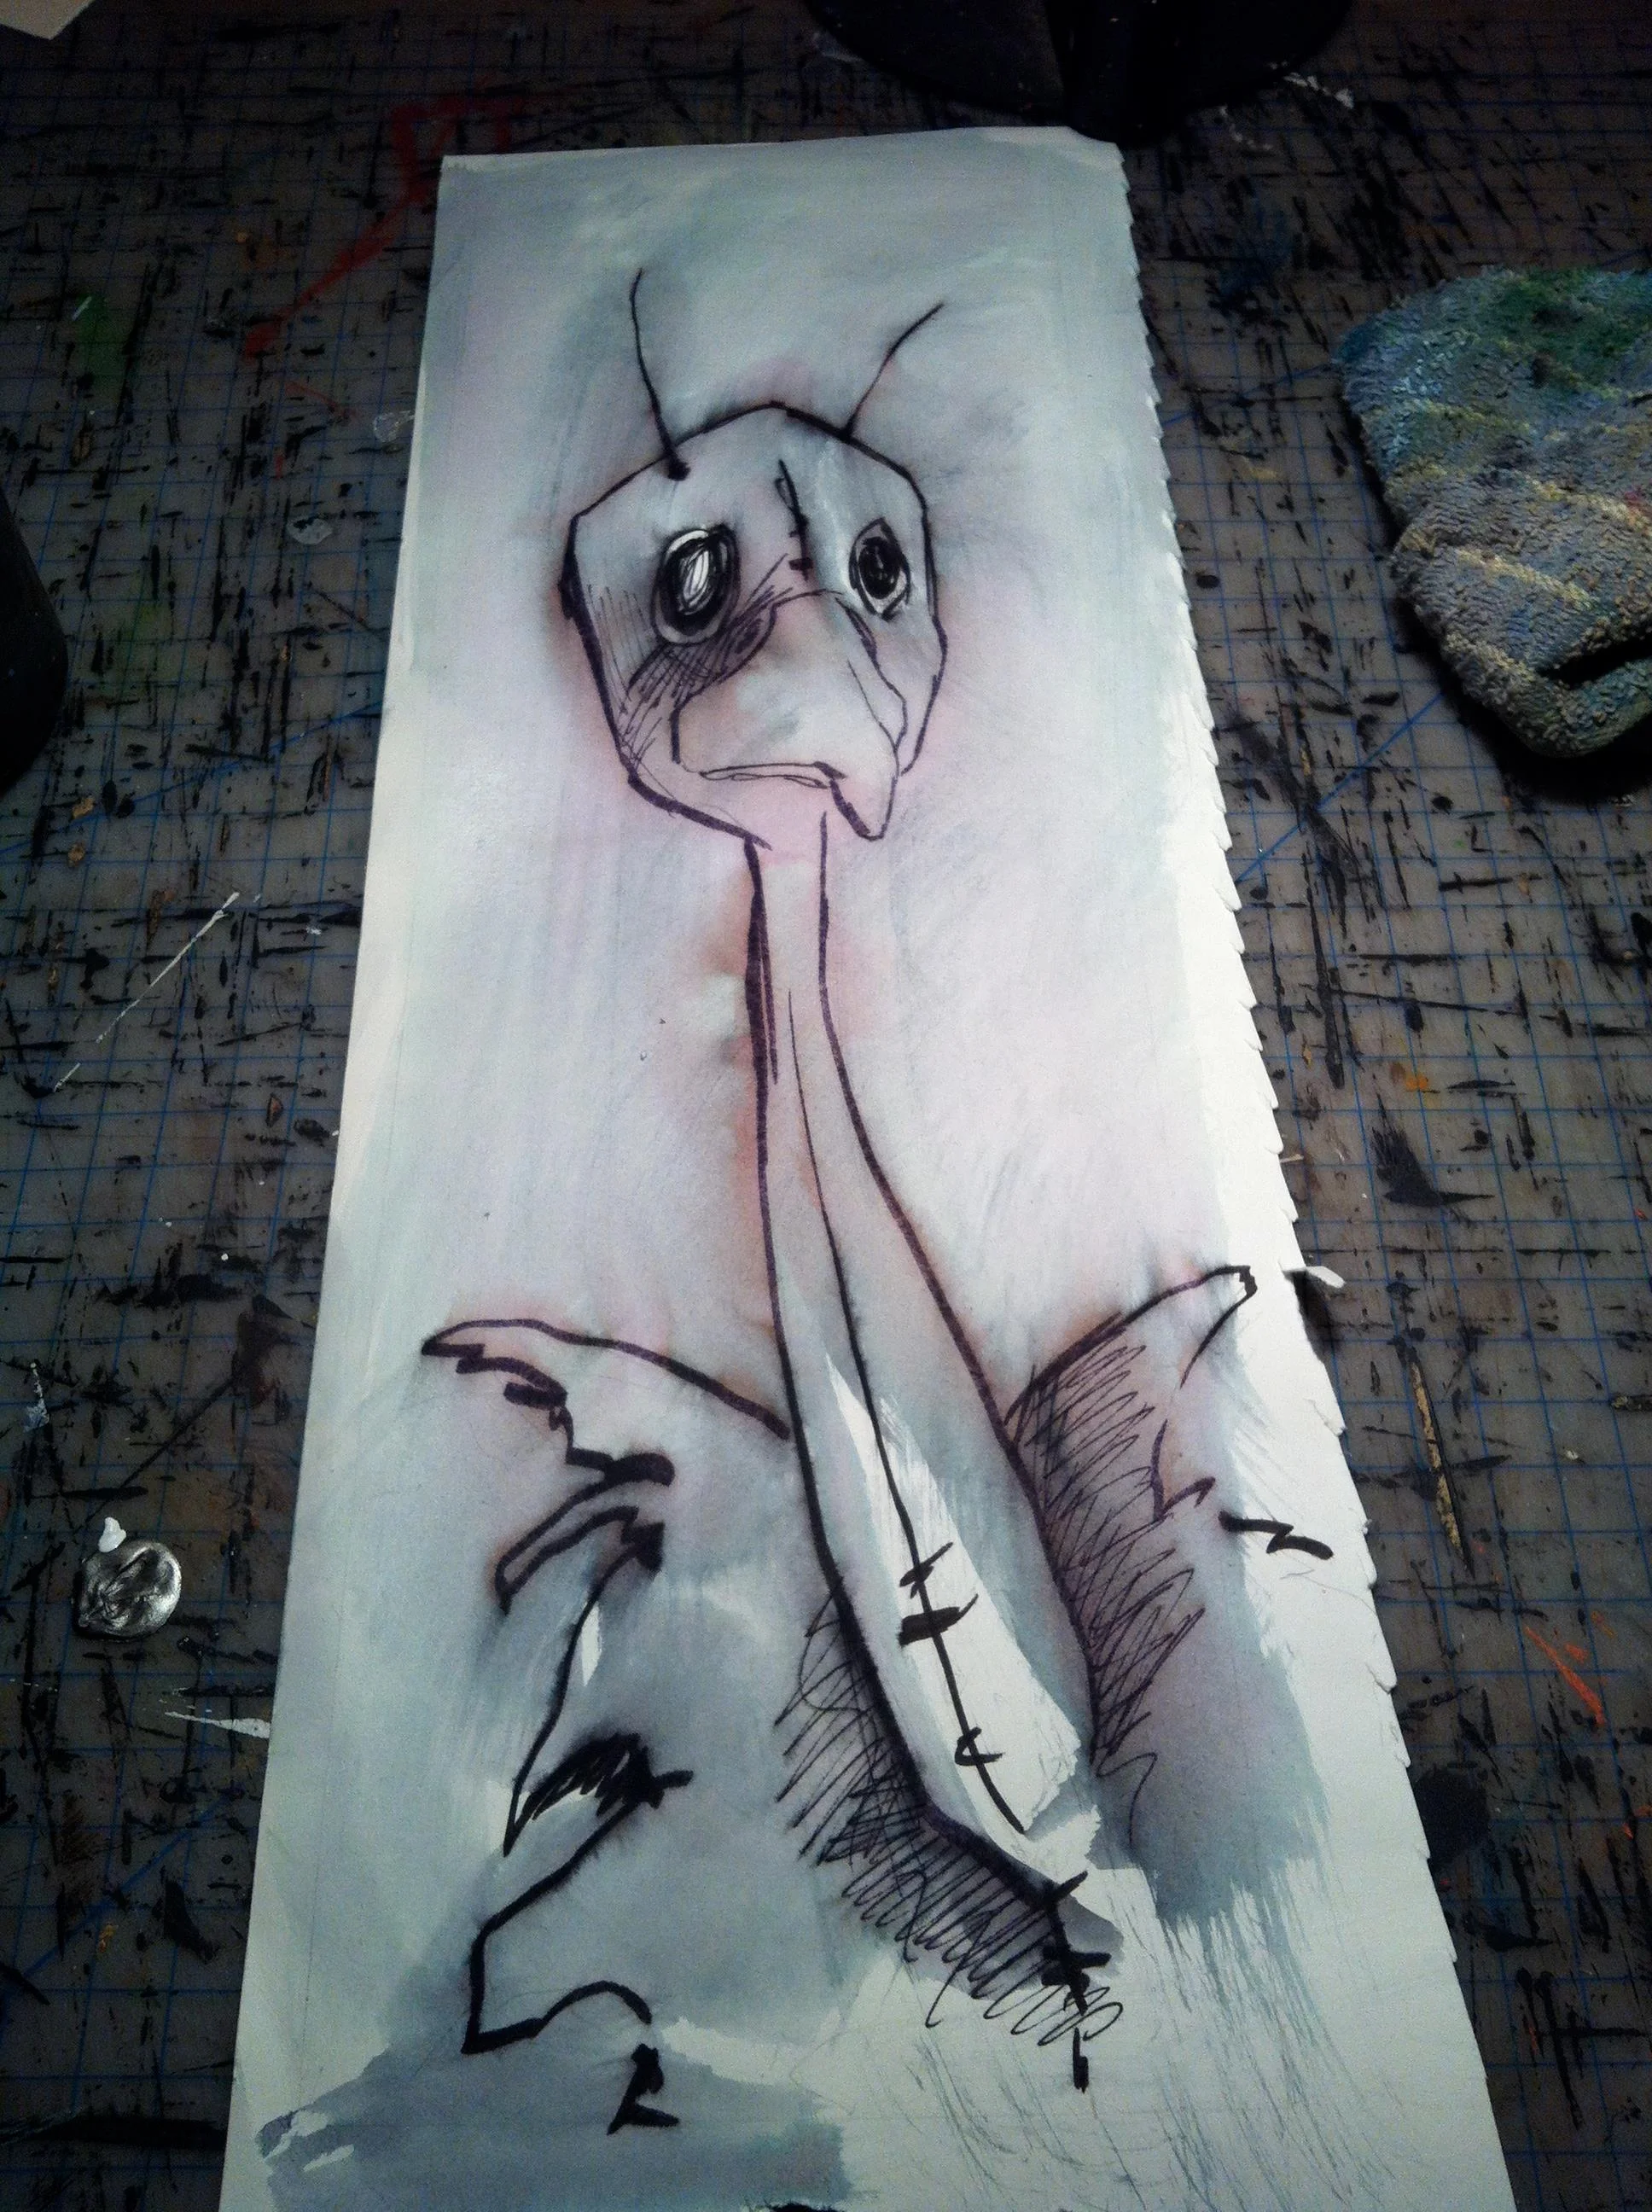
The original drawing is done with a water-soluble calligraphy marker, so naturally the next step is to wet the paper and the drawing and let things bleed together a bit. This also helps establish some areas of light and dark.

Now its time to start adding some color. I use F&W Acrylic inks. Using a hake brush I wet the paper ONLY where I want the ink to be. Then I drop the ink onto the paper and use the brush to push it around.
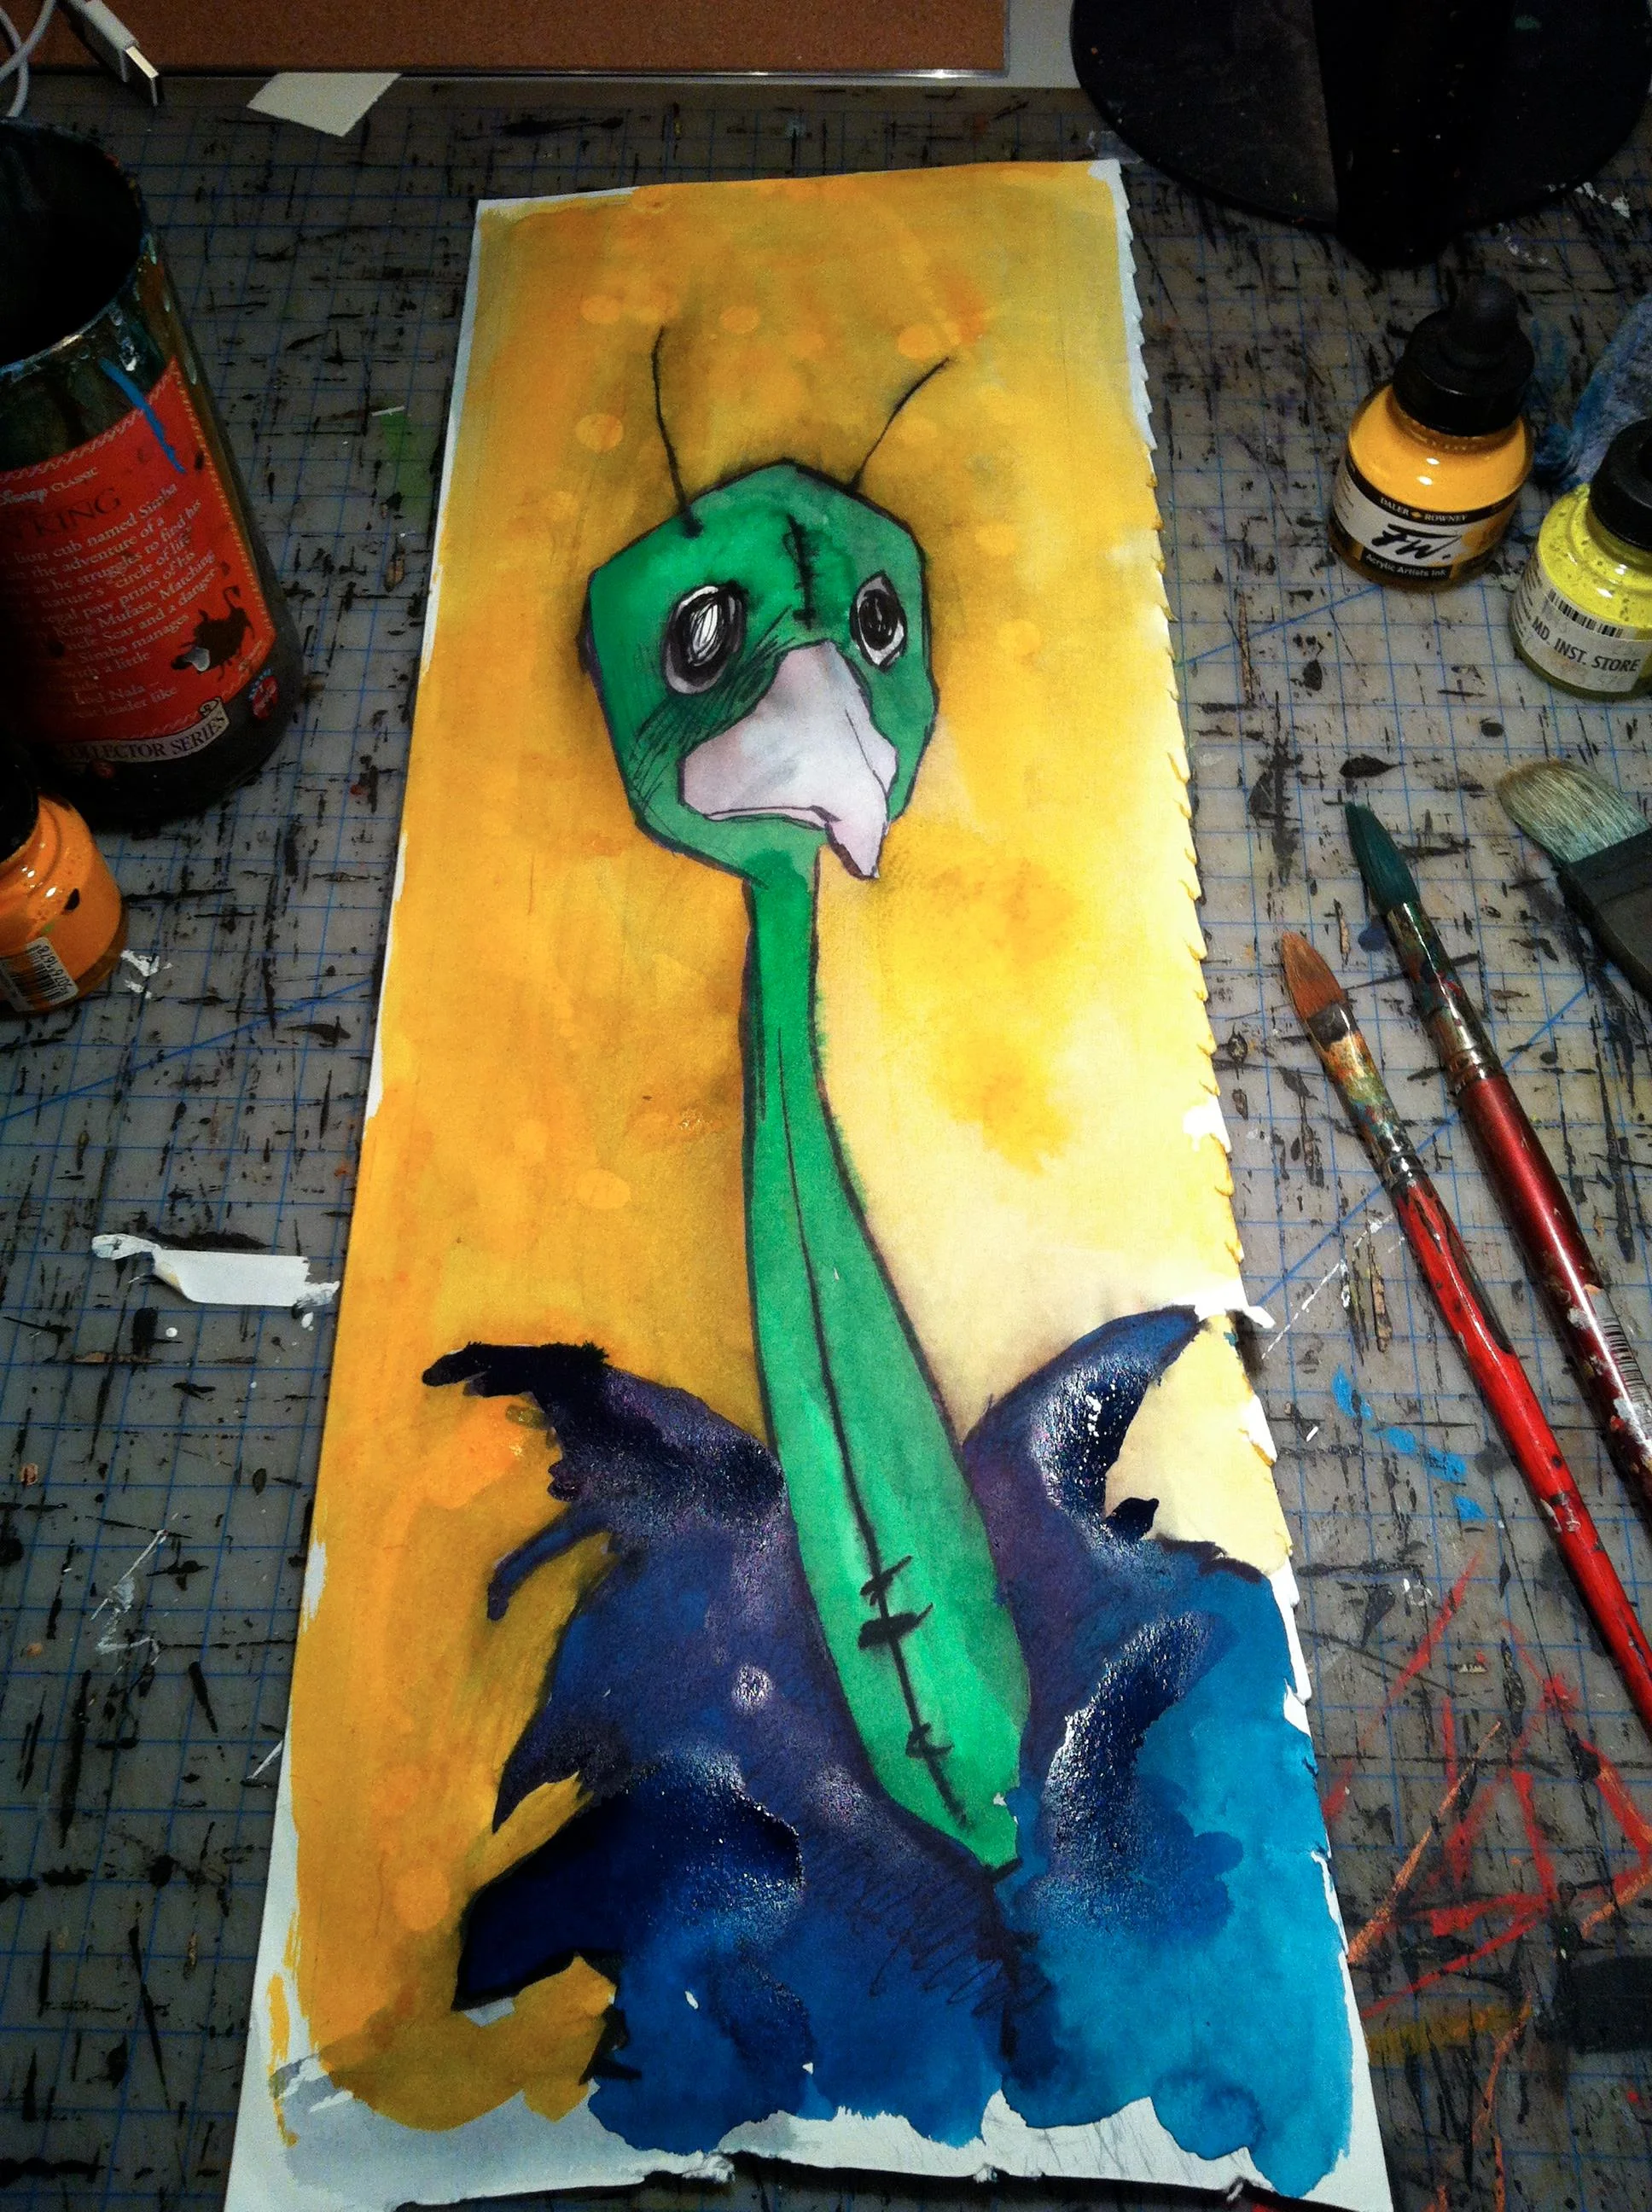
Using this method, I put down the first layer of ink.
Next I start to layer different colors of inks in different areas. The acrylic inks are great because they not only have nice intense colors, but they come in different opacities so after you've worked with them for awhile you can really play with out the colors lay on one another.
Now comes the first layer of the colored cont crayons. These are dry drawing tools more commonly seen as earth tones. However conte crayons come in a wide variety of colors that are (you guessed it) water soluble. That means I can draw with them and still wet down the drawing to add layers of color.
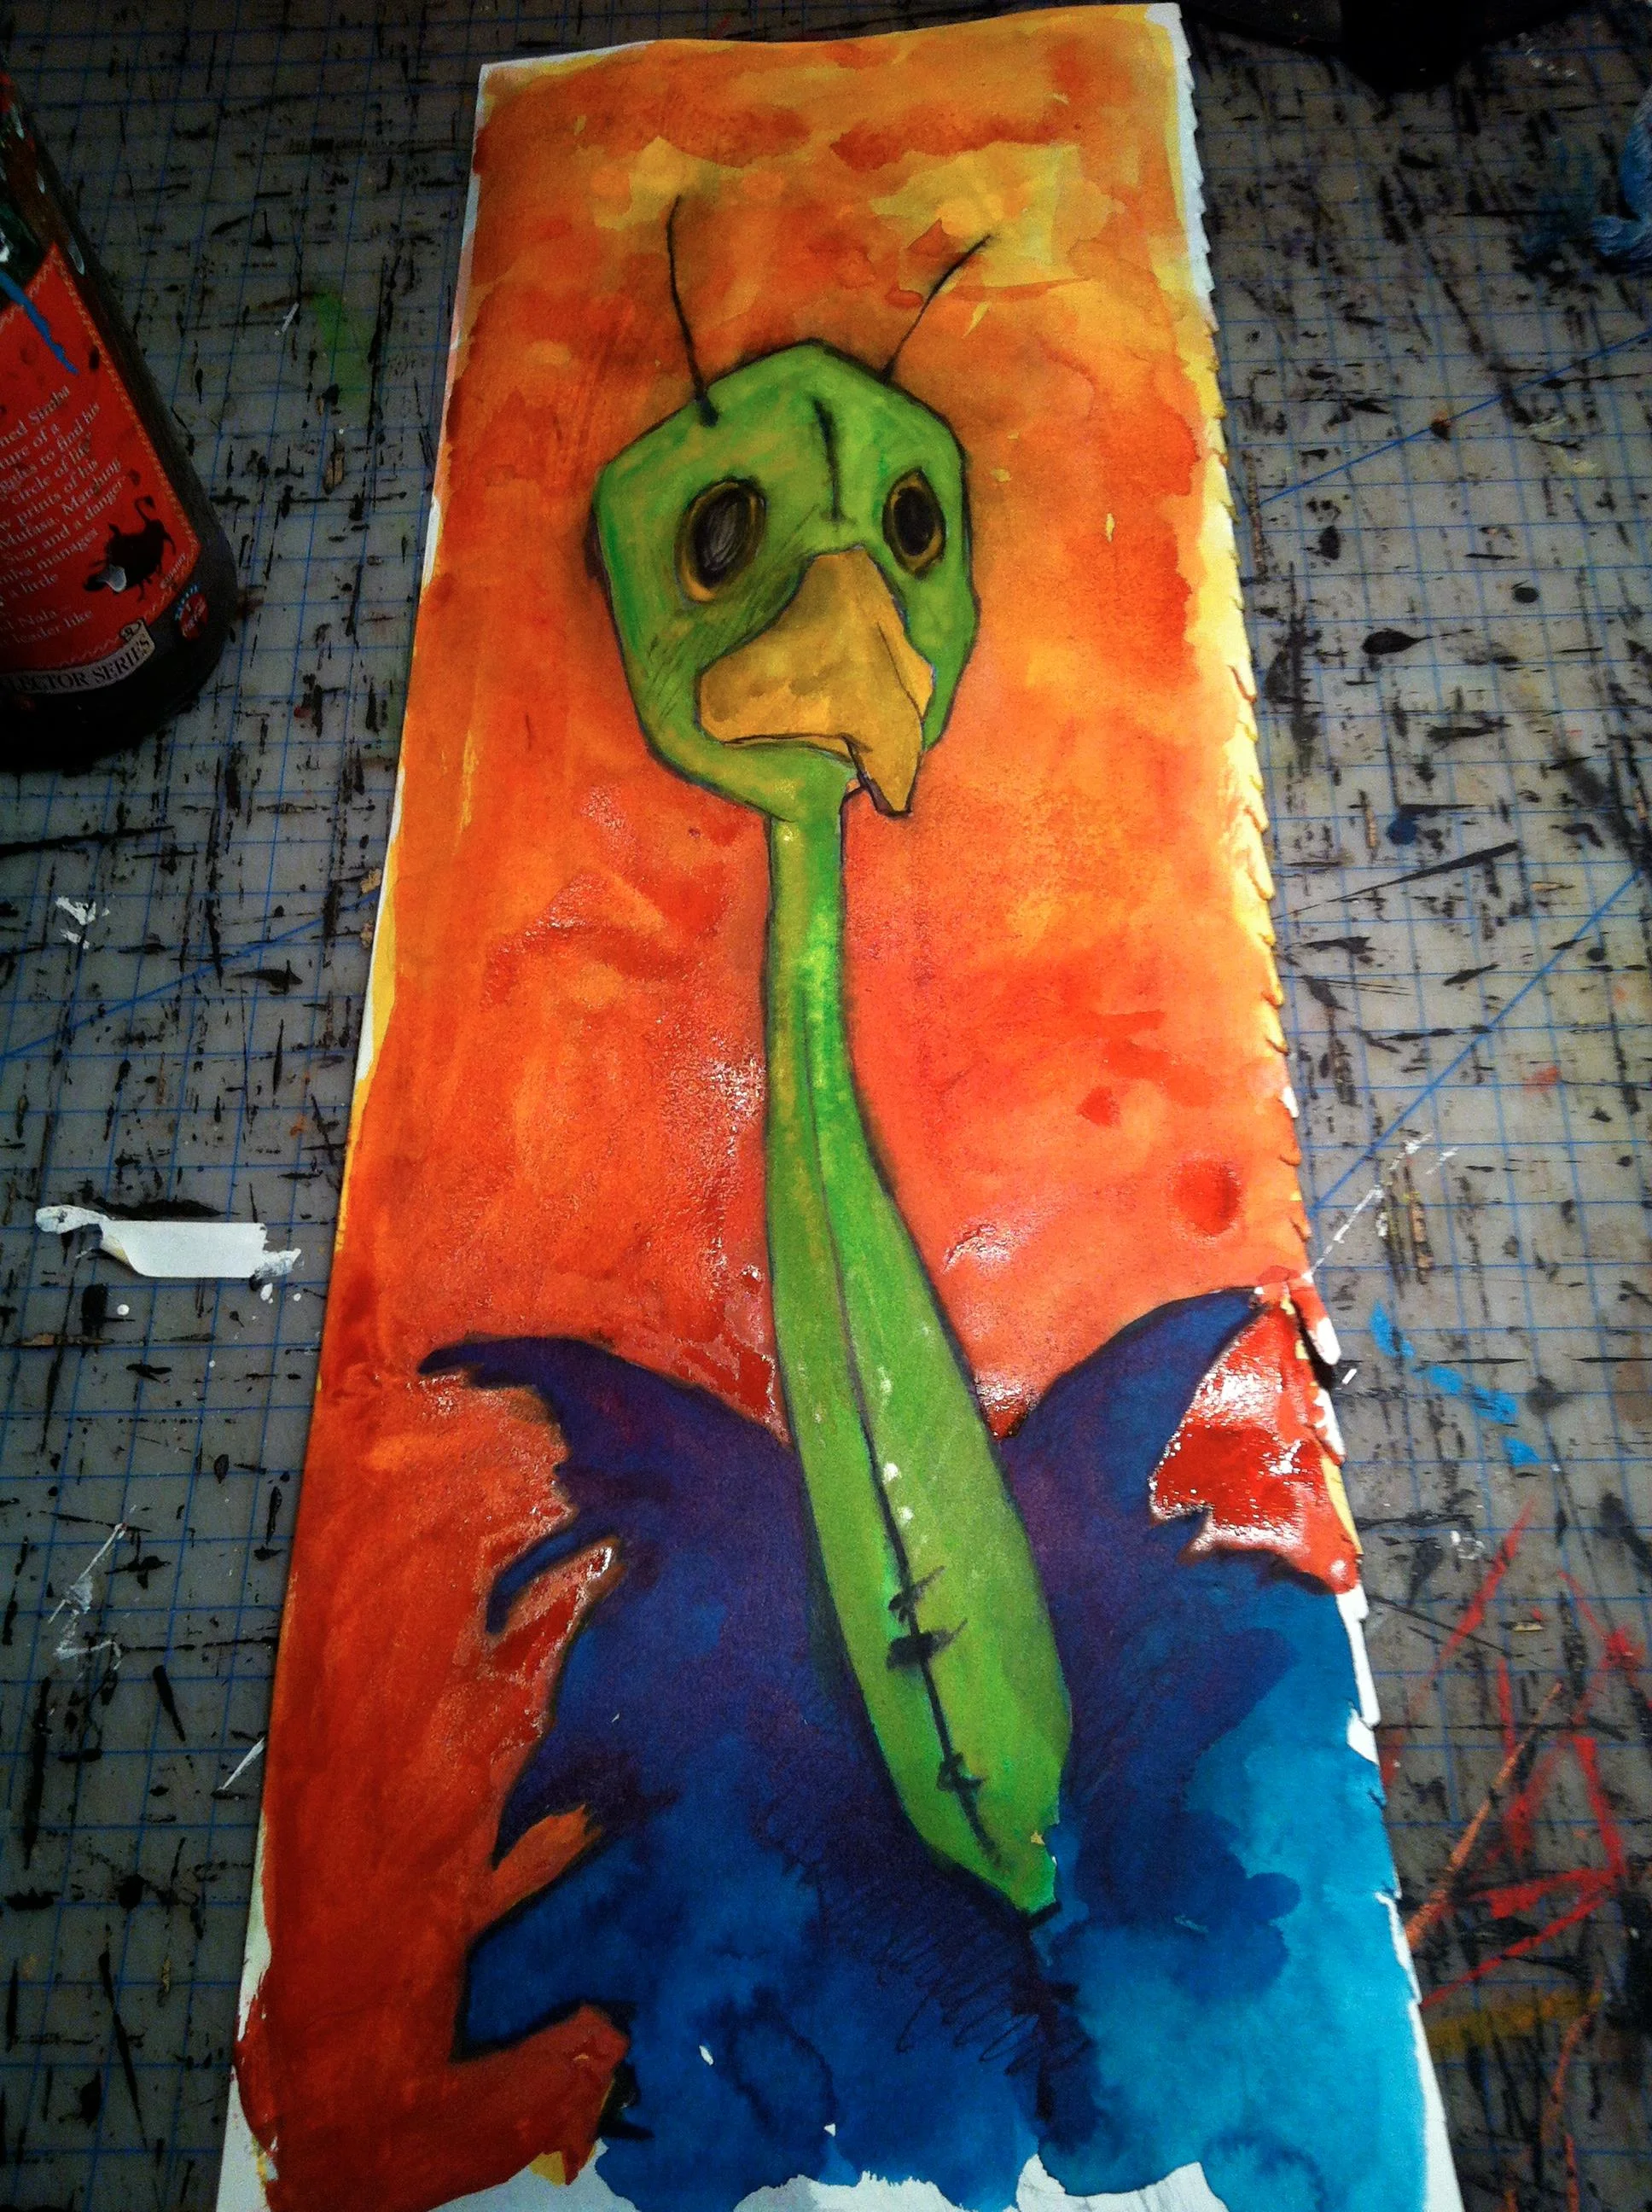
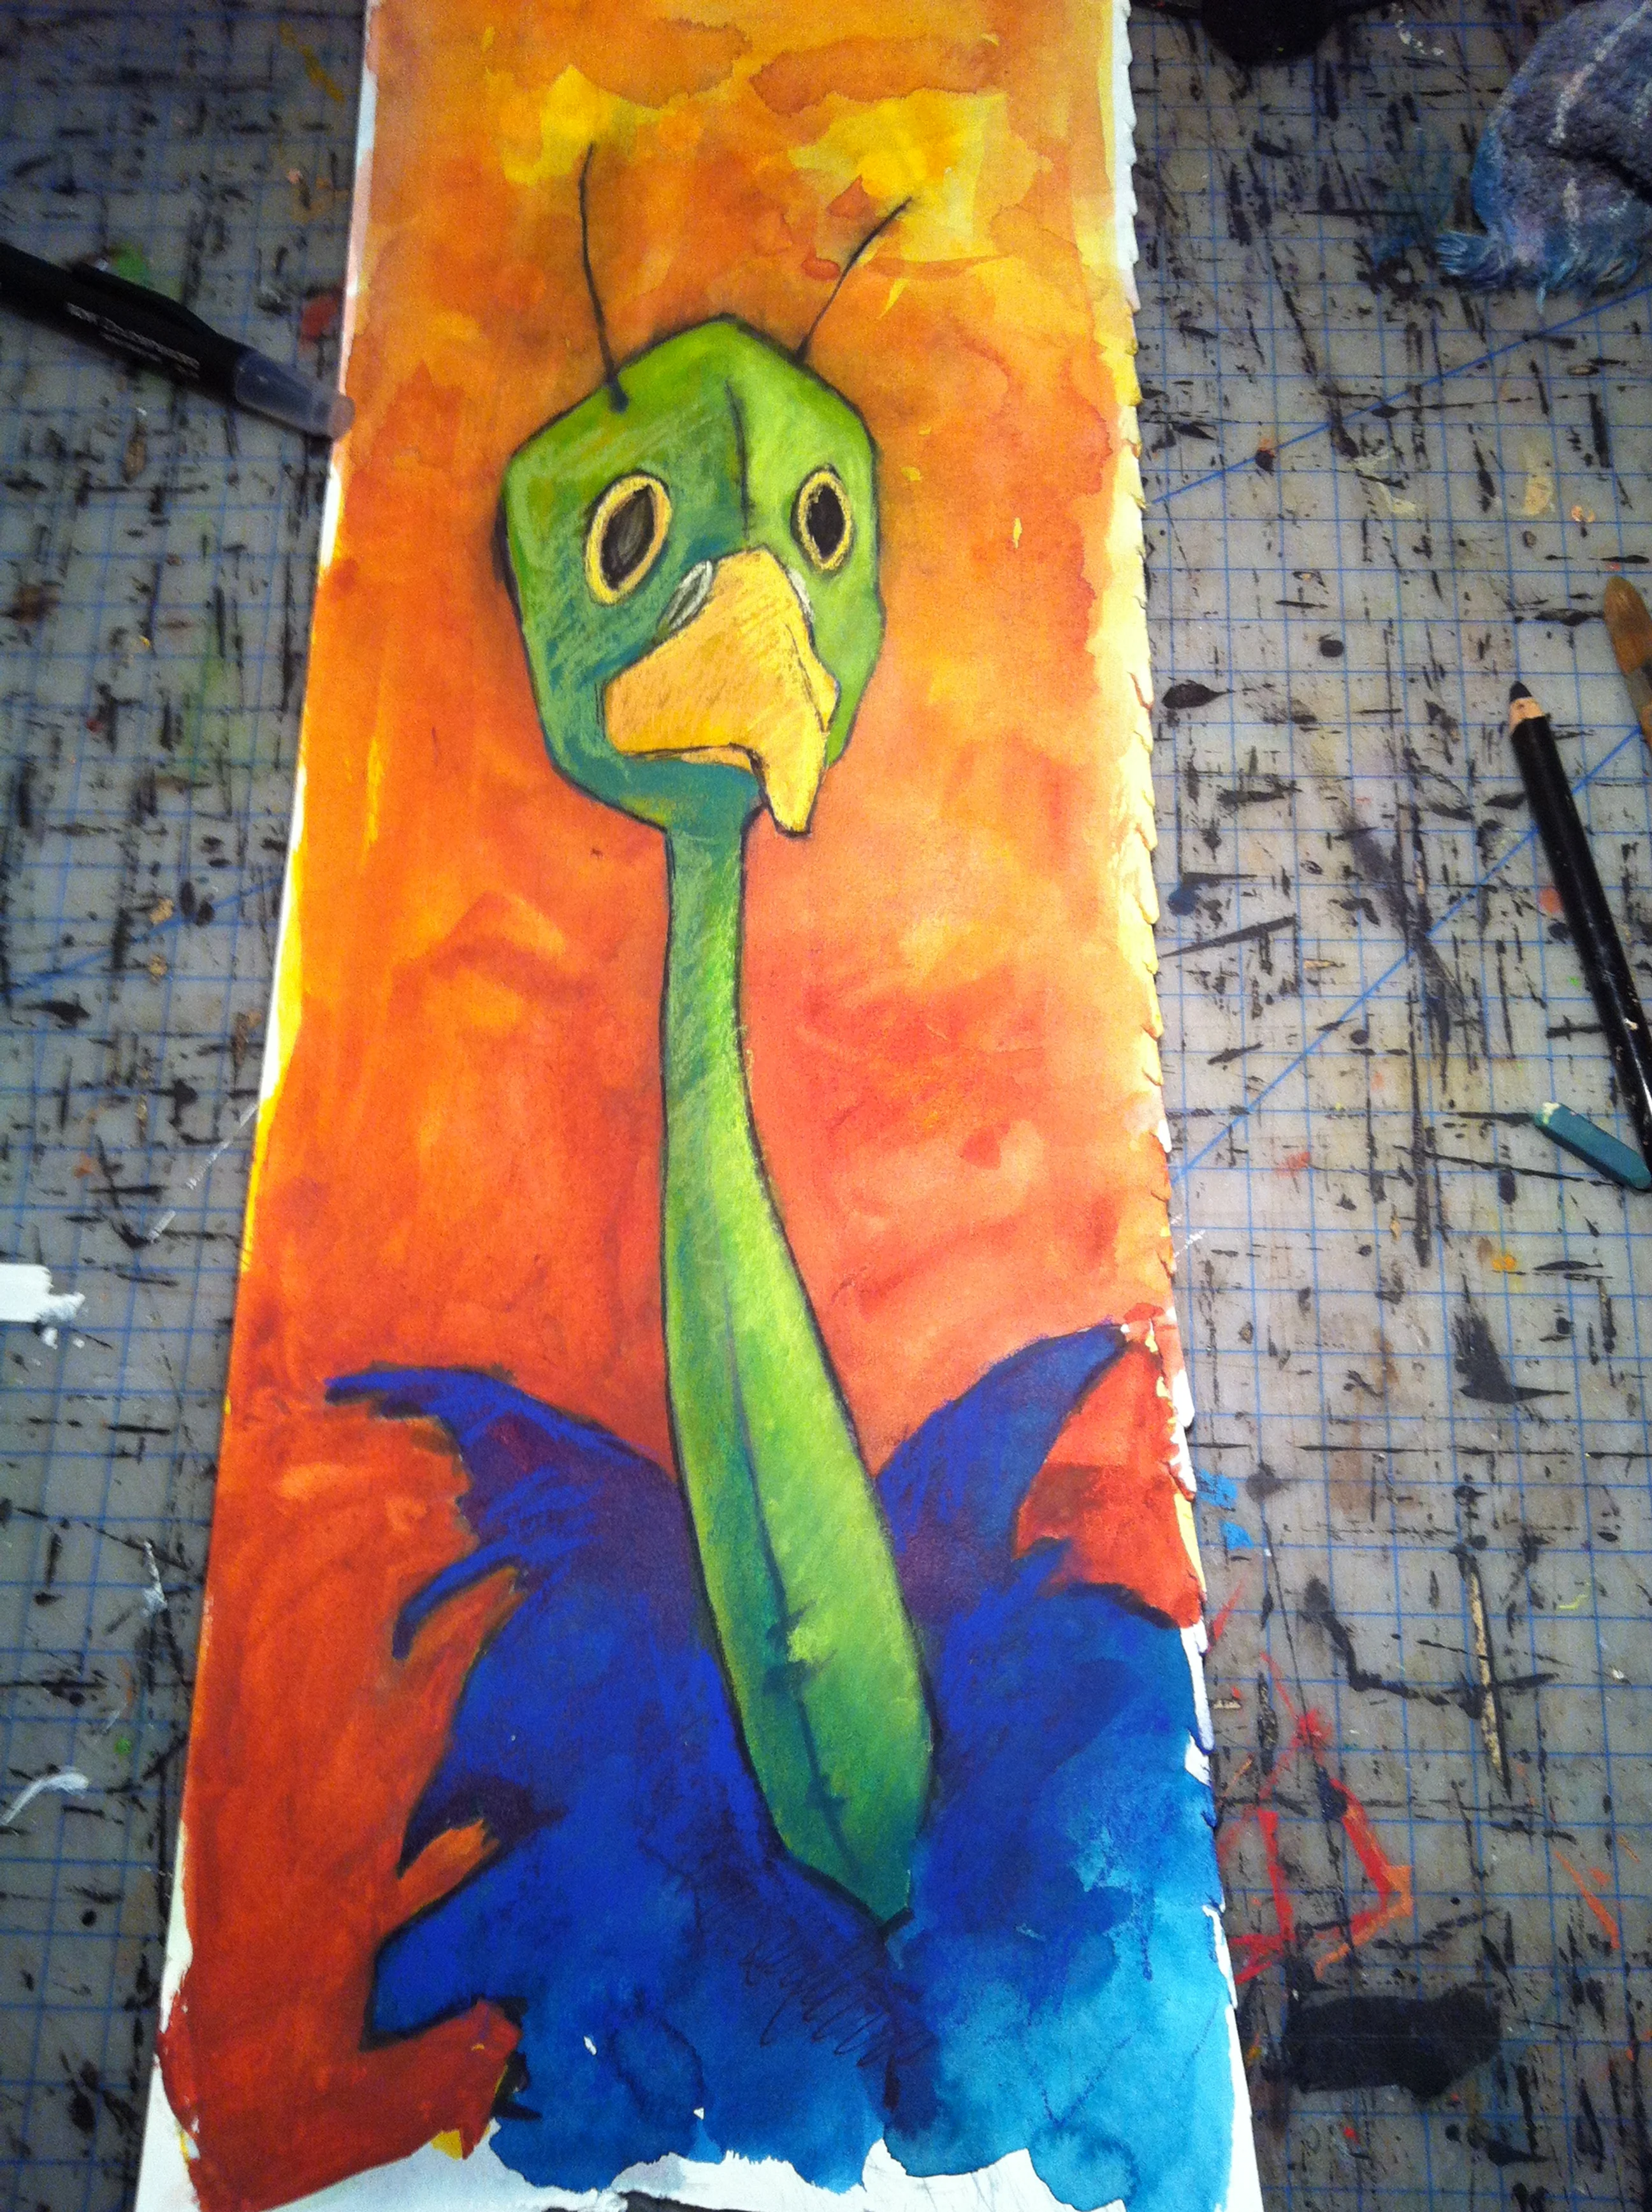
I decided things were getting a little too flat so I added in a few areas of dark using some red ink.

Okay so now we get to the downfall of my documentation abilities.....I forgot to take in between pics so there's a little bit of a jump. Basically I go back in using a combination of inks and conte to build up the layers and depth that I want to see in the finished piece. It's like a series of small tweaks that make a big difference in the end.

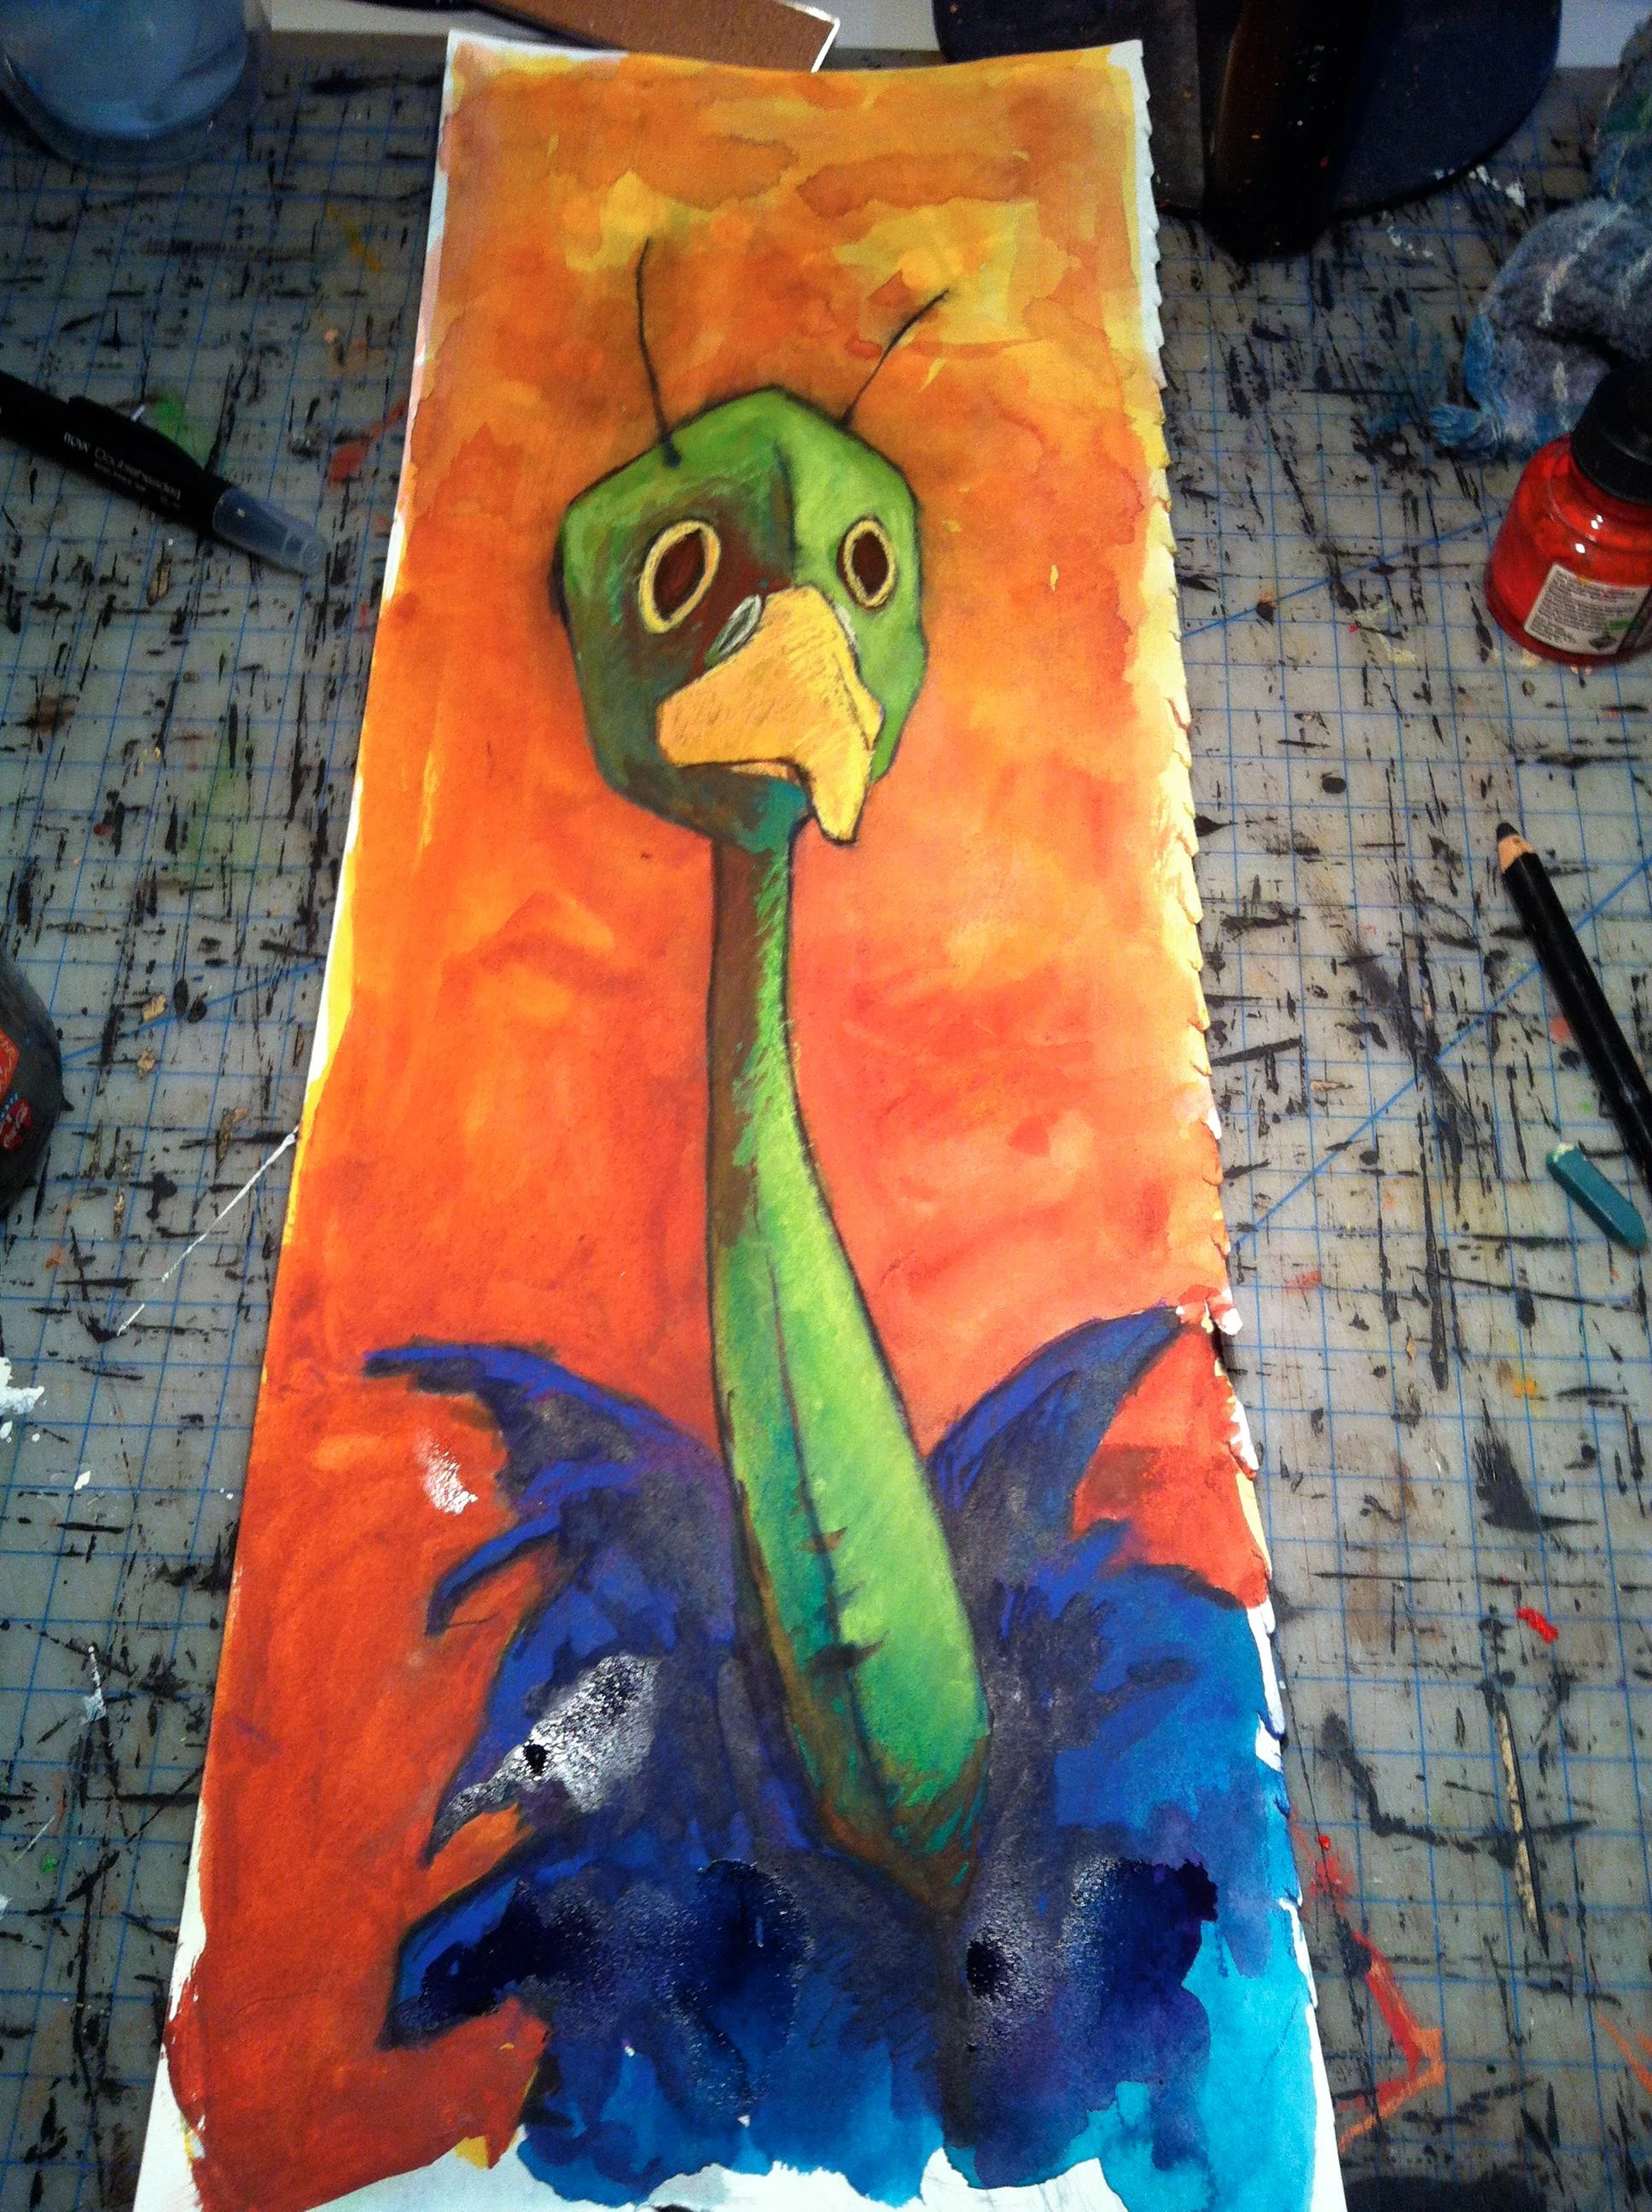
Now we have the finished piece, mounted on board and trimmed down a bit. As you can see this changes the composition and makes the piece a little more dynamic.

And finally here is the official image taken with a decent camera, not my cell phone.
So if you've made it this far, I'm sure your next question is "How might I see that drawing in person?" I'm glad you asked. "Harold" will be on display at the Berlin Coffee House in Berlin, MD starting on October 11th. He will be there as part of "The Birds" a group show curated by Patti Backer who is a fantastic artist and all around nice person. Check it out if you find yourself on the Eastern Shore.